
iPhone版クリスタシンプルモードでのレイヤー操作について試した結果の覚え書き。
間違っているかもしれません。
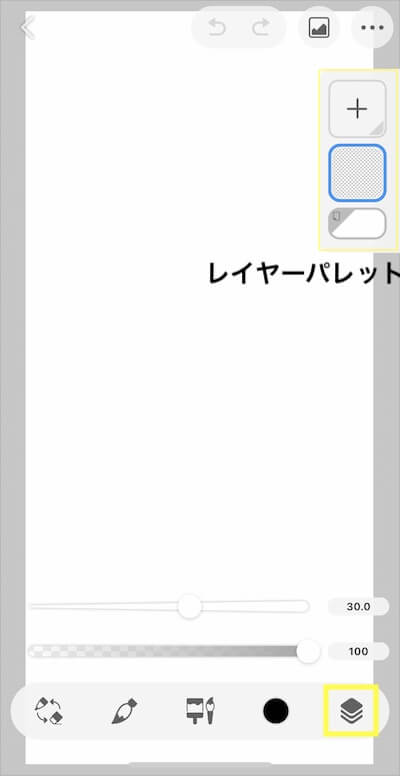
レイヤーパレットは下部の右端のアイコンをタップして出します。
レイヤーの操作
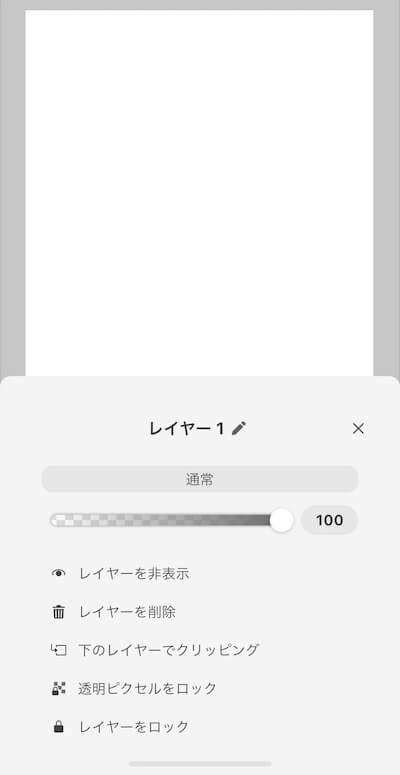
レイヤーのサムネイルをタップするとメニューが出て操作ができます。
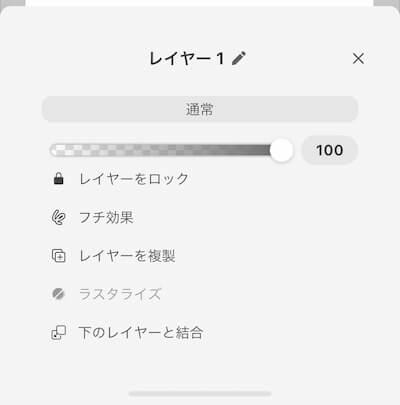
メニューを開き一番下の②「•••」アイコン(その他の設定)をタップすると下に詳しい操作が出ます。
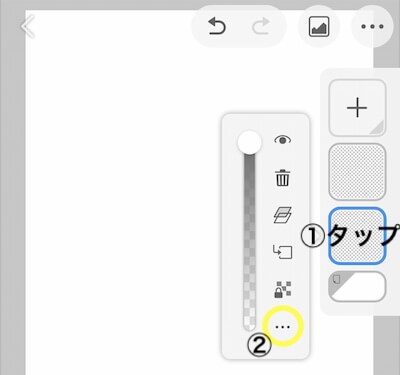
レイヤー名をタップすると名前を変更できます。
その下の「通常」は合成モードです。
スクロールすると他の操作も出てきます。

レイヤーの移動
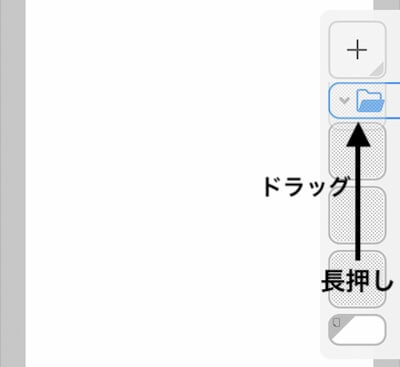
レイヤーを移動したい時やフォルダに入れたい時はサムネイルを長押ししてドラッグします。
青い線が出るとそこに移動できます。
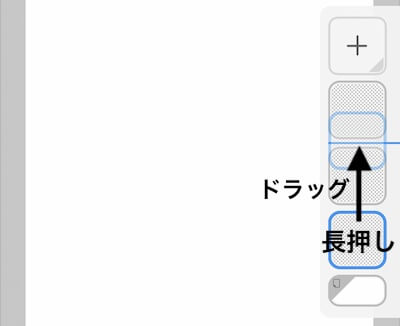
フォルダに入れる場合はフォルダの下に青い線がでるか青く囲われます。

Wacom
¥39,800(2026/06/04 13:58時点 | Amazon調べ)
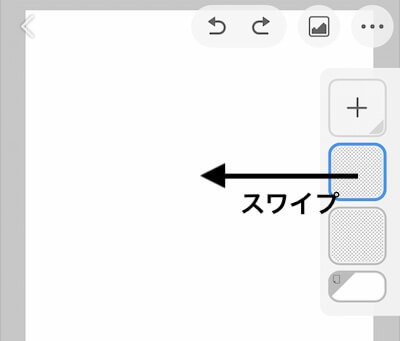
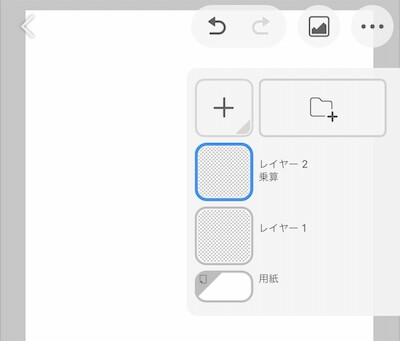
レイヤー名を表示
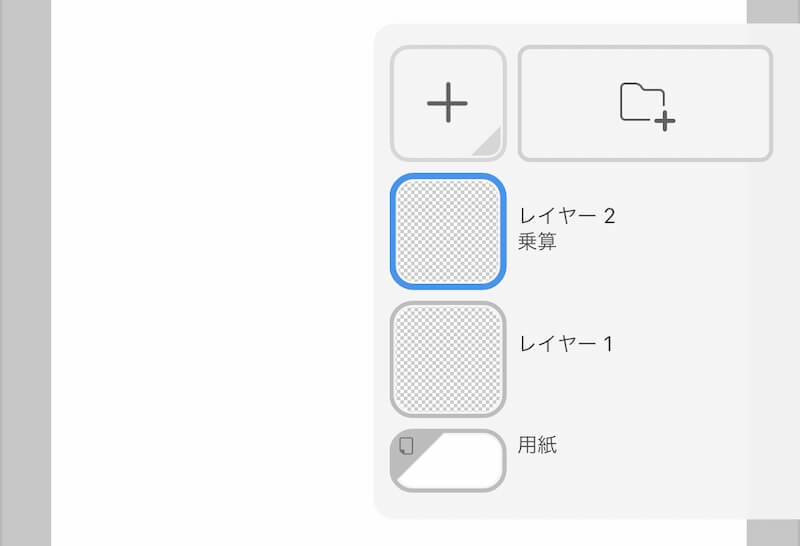
レイヤーパレットを左にスワイプするとレイヤー名や合成モードが見れるようになります。
フォルダ追加アイコンもでます。
レイヤーの追加
レイヤーパレット一番上の「+」をタップするとレイヤーが追加されます。
長押しすると下に他の操作も出てきます。
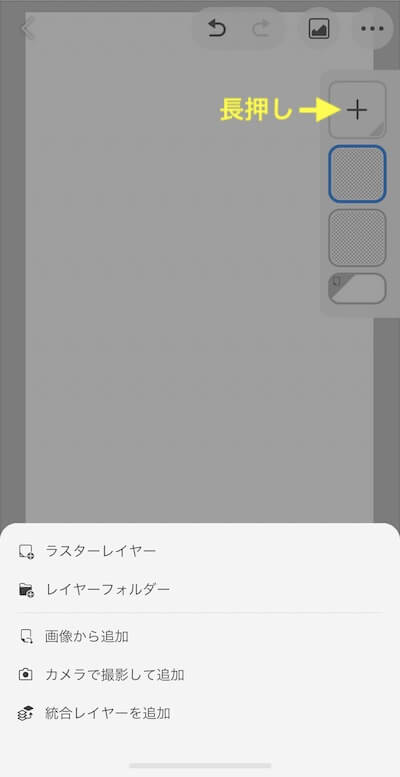
「画像から追加」を選ぶとカメラロールが開きます。
「結合レイヤーを追加」はパソコン版でいう「表示レイヤーのコピーを結合」です。


エレコム(ELECOM)
¥1,982(2026/06/04 13:58時点 | Amazon調べ)
スポンサーリンク